使用 Github Action
通过本章节的指南,您可以快速在 Github 仓库集成 Actions 工作流,实现自动构建并部署至 EdgeOne Pages。
设置 Github 仓库 Secret
要运行此 Action,您需要在 GitHub 中创建仓库的 Secret:
访问您的 GitHub 仓库页面
前往 “Settings” > “Secrets and variables” > “Actions”
点击 “New repository secret”
在“Name”输入 EDGEONE_API_TOKEN,在“Secret”输入 EdgeOne API token 的值。
部署主干代码变更
完整的
.github/workflows/deploy.yml 配置如下:name: Build and Deploy# 向主干 main 分支推送代码时触发部署on:push:branches:- mainjobs:build-and-deploy:runs-on: ubuntu-lateststeps:- name: Checkout repositoryuses: actions/checkout@v4- name: Setup Node.jsuses: actions/setup-node@v4with:node-version: '22.11.0' # 选择适合的 Node.js 版本- name: Install dependenciesrun: npm install- name: Build projectrun: npm run build- name: Deploy to EdgeOne Pagesrun: npx edgeone pages deploy <outputDirectory> -n <projectName> -t ${{ secrets.EDGEONE_API_TOKEN }} [-e <env>]env:EDGEONE_API_TOKEN: ${{ secrets.EDGEONE_API_TOKEN }}
将上述的
deploy.yml 文件配置到您的项目根目录下。当代码推送到 main 分支时,会触发以下构建过程:1. checkout 到目标仓库
2. 设置 Node.js 版本为 22.11.0
3. 安装项目依赖
4. 构建项目
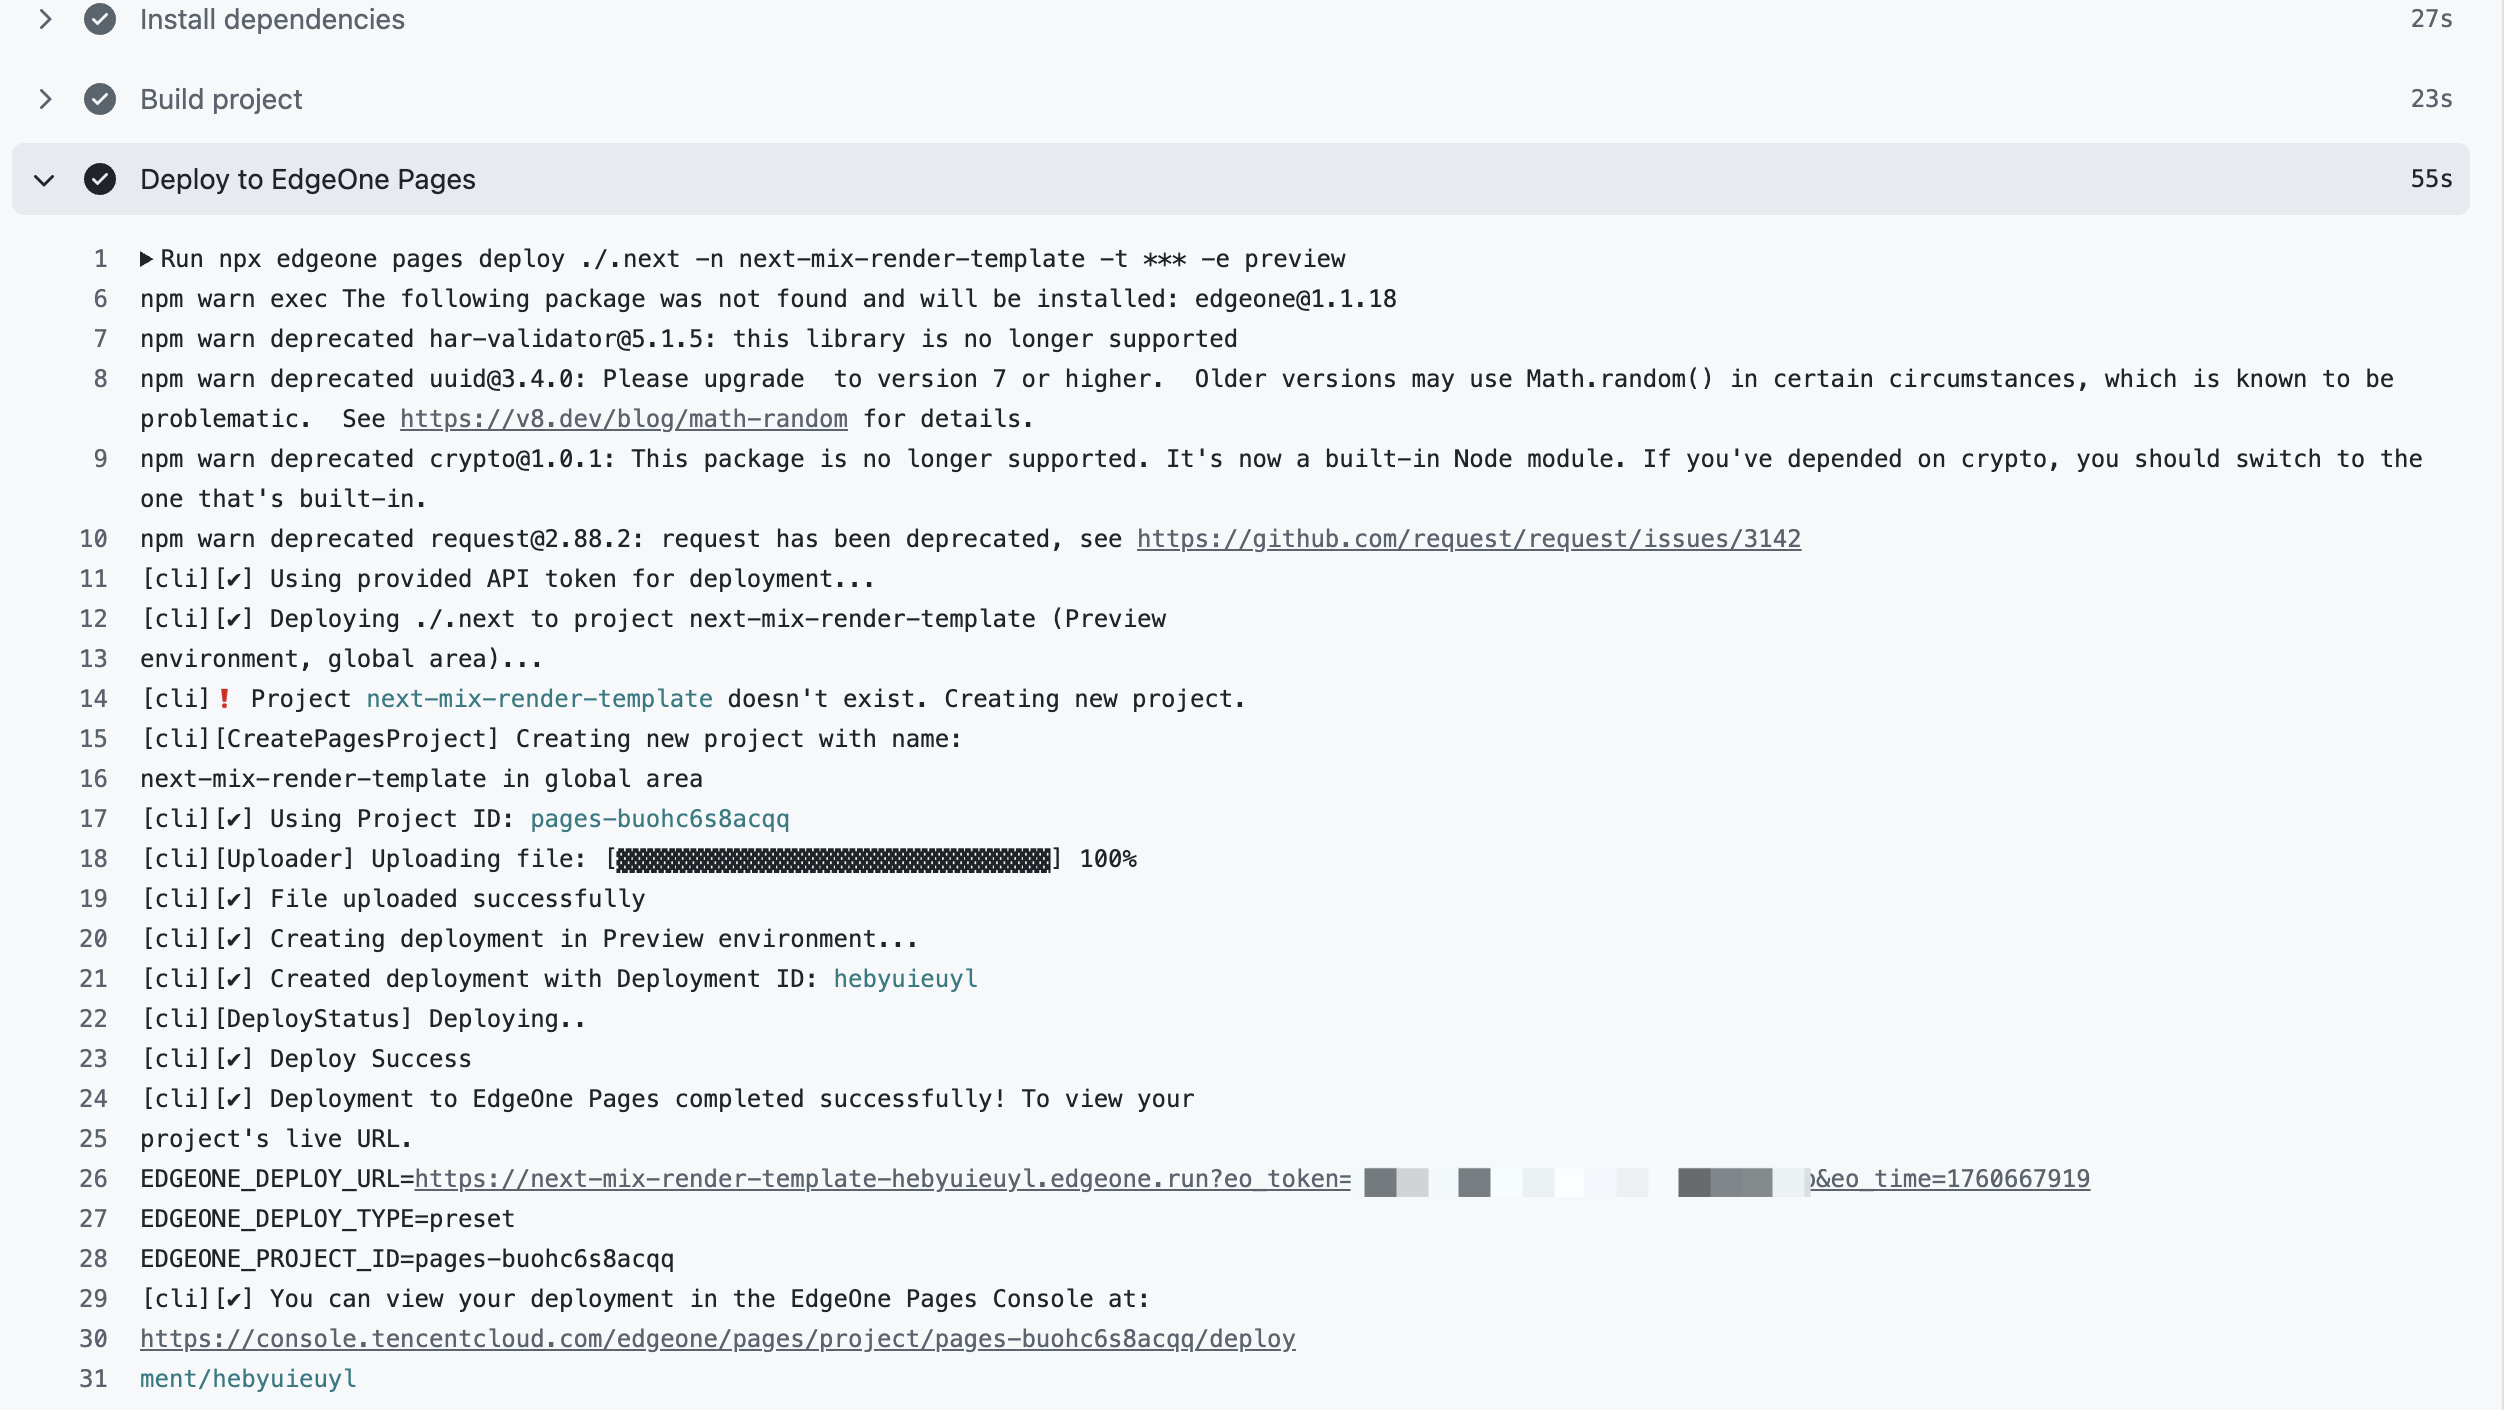
构建完成后回到控制台查看构建链接,或者在当前仓库下前往 “Actions”>“All workflows” > “Build and Deploy” 查看 “Deploy to EdgeOne Pages” 节点。

代码合入前部署预览链接
完整的
.github/workflows/deploy.yml 配置如下:name: Build and Deployon:pull_request_target:types: [opened]jobs:Deploy-Preview:runs-on: ubuntu-latestpermissions:pull-requests: writesteps:- uses: actions/checkout@v4- name: Setup Node.jsuses: actions/setup-node@v4with:node-version: '22.11.0' # 选择适合的 Node.js 版本- name: Install dependenciesrun: npm install- name: Build projectrun: npm run build- name: Deploy to EdgeOne Pagesid: deployrun: |echo "Deploying to EdgeOne Pages..."DEPLOY_OUTPUT=$(npx edgeone pages deploy ./.next -n next-mix-render-template -t ${{ secrets.EDGEONE_TOKEN }} -e preview 2>&1)DEPLOY_URL=$(echo "$DEPLOY_OUTPUT" | grep "EDGEONE_DEPLOY_URL=" | cut -d'=' -f2-)echo "DEPLOY_URL=$DEPLOY_URL" >> $GITHUB_OUTPUTPROJECT_ID=$(echo "$DEPLOY_OUTPUT" | grep "EDGEONE_PROJECT_ID=" | cut -d'=' -f2-)echo "PROJECT_ID=$PROJECT_ID" >> $GITHUB_OUTPUTDEPLOY_END_TIME=$(date -u +"%Y-%m-%dT%H:%M:%SZ")echo "DEPLOY_END_TIME=$DEPLOY_END_TIME" >> $GITHUB_OUTPUTenv:EDGEONE_API_TOKEN: ${{ secrets.EDGEONE_TOKEN }}- name: Enable PR comments # 支持在代码合并前部署预览链接uses: thollander/actions-comment-pull-request@v2with:message: |🚀 **EdgeOne Pages 部署完成**| 项目 | 预览链接 | 项目ID | 更新时间 ||---|---|---|---|| [${{ github.event.repository.name }}](https://console.tencentcloud.com/edgeone/pages/project/${{ steps.deploy.outputs.PROJECT_ID }}/deploy) | [🔗 点击预览](${{ steps.deploy.outputs.DEPLOY_URL }}) | ${{ steps.deploy.outputs.PROJECT_ID }} | ${{ steps.deploy.outputs.DEPLOY_END_TIME }} |
将上述的
deploy.yml 文件配置到您的项目根目录下。当有 pull request 创建会触发以下构建过程:1. checkout 到目标仓库
2. 设置 Node.js 版本为 22.11.0
3. 安装项目依赖
4. 构建项目
5. pull request 评论区会增加 EdgeOne 部署成功的相关信息,可以在合并代码前审阅页面改动。

说明:
npx edgeone pages deploy 参数说明:<outputDirectory>: 项目构建后产物所在的文件夹(必填)。
-n, --name: 需要部署的项目名称,项目不存在则自动创建新项目(必填)。
-e, --env: 部署目标环境,可选值: production 或 preview(默认 production)。
示例:npx edgeone pages deploy ./dist -n project-name -t ${{ secrets.EDGEONE_API_TOKEN }}。
EdgeOne Pages 部署
构建完成后,项目将通过以下过步骤自动部署到 EdgeOne Pages:
构建阶段生成 ./out 目录
使用 EdgeOne 命令行工具进行部署:
npx edgeone pages deploy ./out -n my-edgeone-pages-project -t ${{ secrets.EDGEONE_API_TOKEN }}